Overview #
Unreal Engine’s built-in water plugin struggles to simulate rising water levels.
While community solutions exist, they often break with engine updates.
To address this, we’ve developed a simpler system that reliably handles rising water, regardless of engine version.
Our approach sacrifices full water simulation, including waves.
However, it still contains ripples and is suitable for most scenarios involving rising water levels.
Note: Runtime Virtual Textures must be enabled for Ripples to work with this system.
To learn how to enable this, please click here
Adding the Rising Water Blueprint #
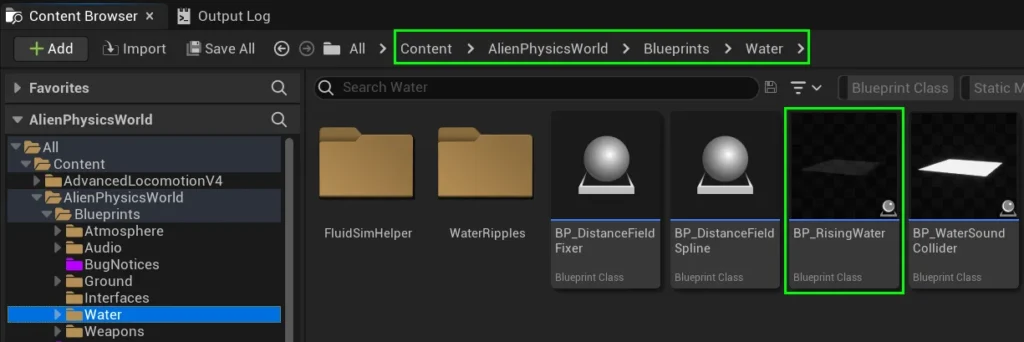
Begin by dragging
BP_RisingWater into your level.
It can be located at: Content / AlienPhysicsWorld / Blueprints / Water
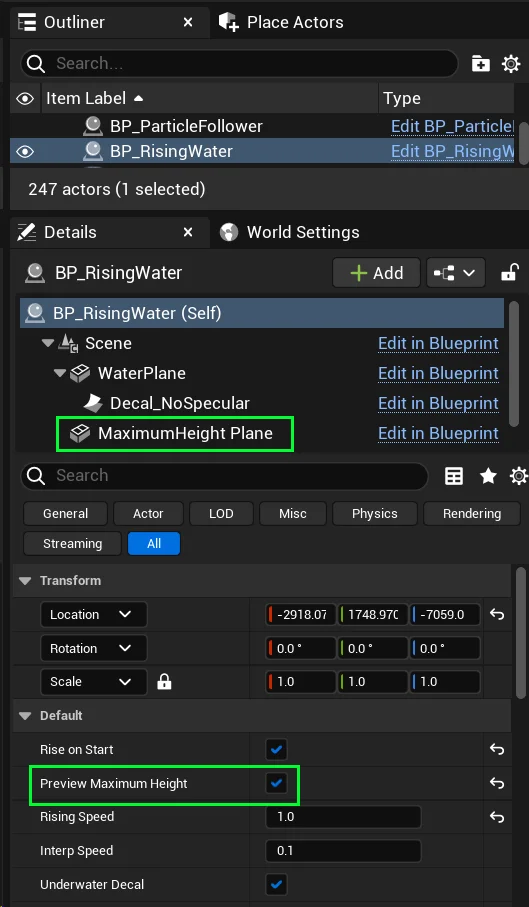
Next, select the BP_RisingWater blueprint in your level.
Go to the details panel and check Preview Target Height.
This will make the Maximum Height Plane visible.
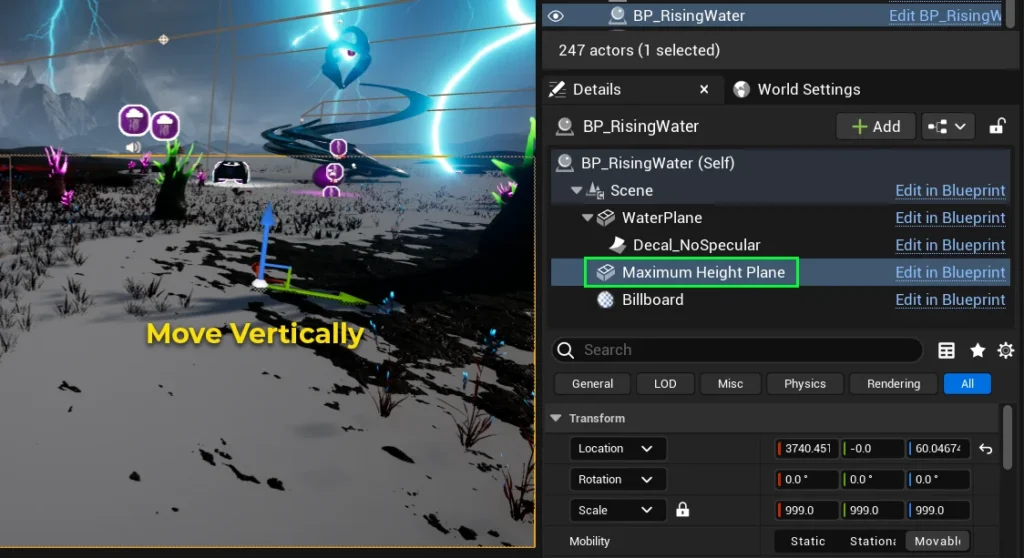
Select the Maximum Height Plane component, and move it vertically in the level, until it is at the highest point that you want the water to rise to.
When you are finished, uncheck
Preview Target Height
Adding Ripples – Level Setup #
To add player and object-generated ripples, you will first need to add the Runtime Virtual Texture volume to the level.
Navigate to Content / AlienPhysicsWorld / Blueprints / Water / WaterRipples /
Drag BP_RVT_Ripples into your level, and modify its position and scale so that it overlaps the area that you want water ripples to apply to.
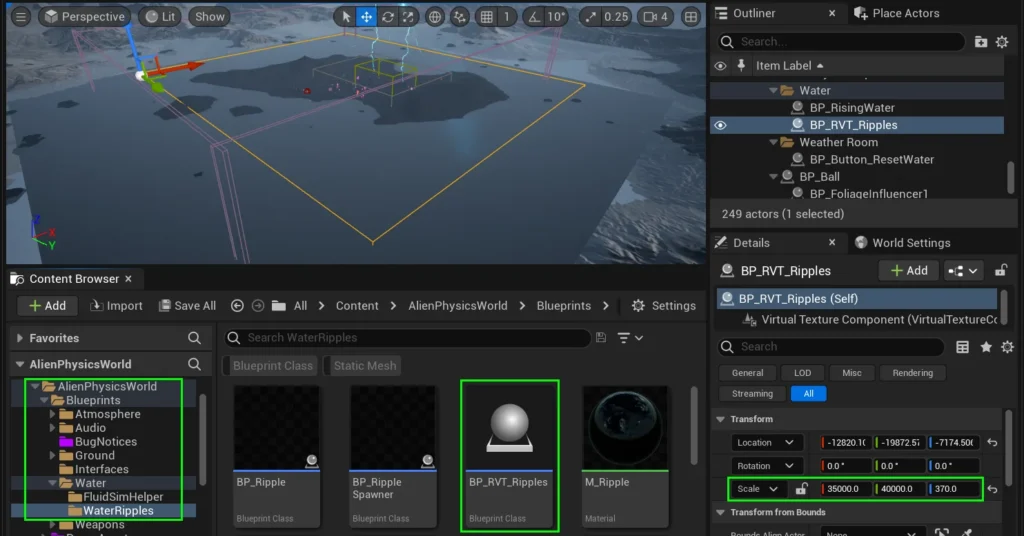
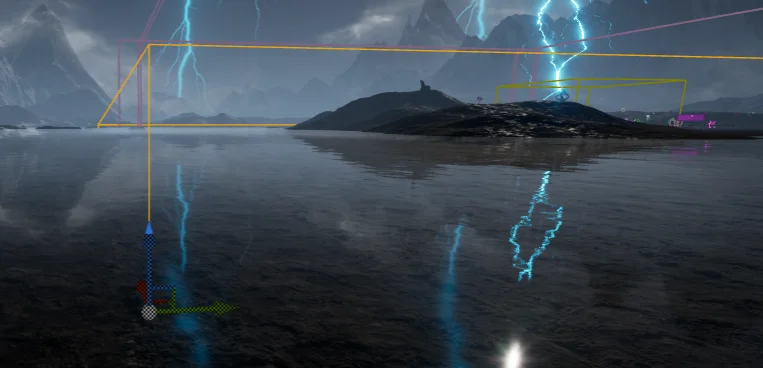
The placement of this blueprint should overlap the water,
similarly to the image on the left.
It’s vertical scale should cover the maximum height area that the water will rise to.
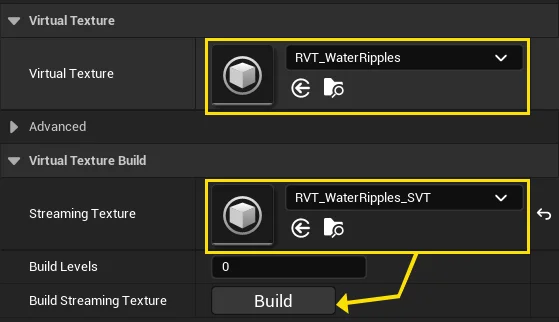
Please select the Blueprint in your level, and ensure that it has a Virtual Texture and a Streaming Texture assigned.
If there is no Streaming Texture, simply click the Build button just below it, and create one.
Adding Ripples – Character Setup #
To ensure that ripples are spawned by your character or any other object, you’ll need to ensure that BP_RippleSpawner is added to your Character Blueprint.
BP_RippleSpawner can be located at Content / AlienPhysicsWorld / Blueprints / Water / WaterRipples /
Place this blueprint at the top of your character.
You can play around with different settings for Size, Strength, Fade Increase, etc.. However – the default settings are recommended.
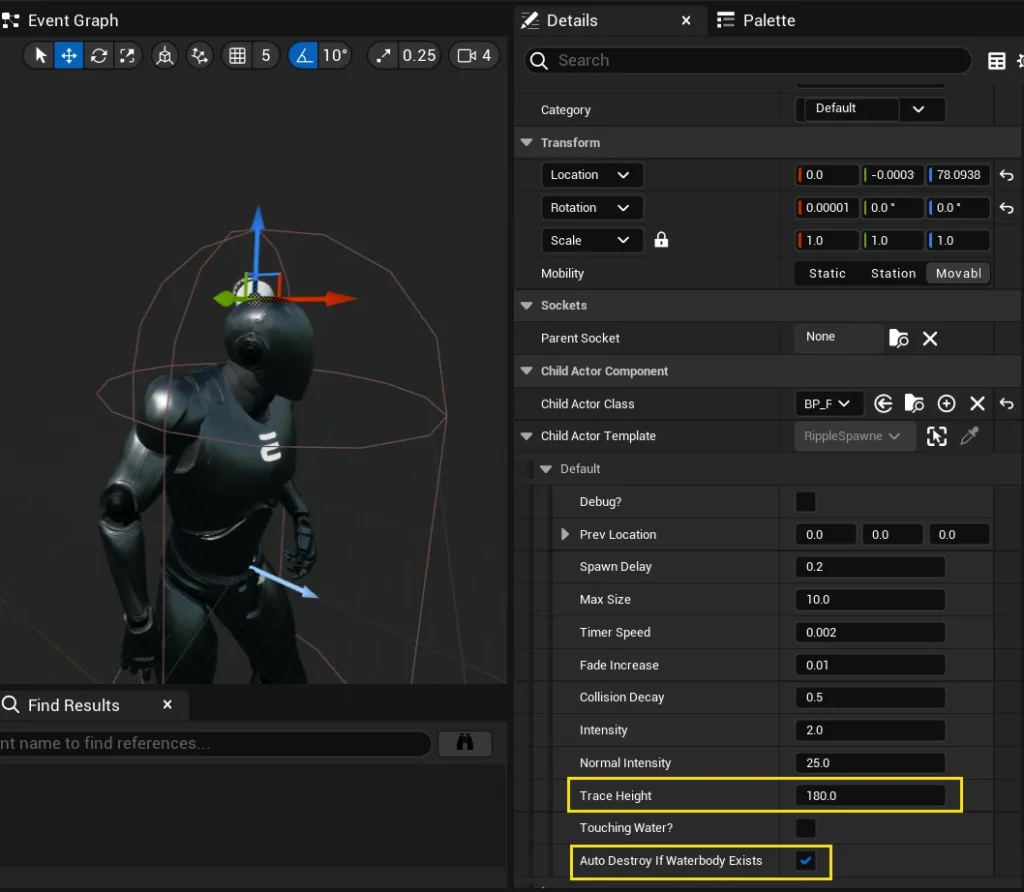
The main two settings to be aware of are Trace Height and Auto Destroy if Waterbody Exists
Trace Height must be set to the height of the character, so that the ripples spawn when the feet touch the water.
Auto Destroy if Waterbody Exists is a checkbox that automatically destroys the BP_RippleSpawner actor if a Waterbody exists in the level. This is useful if you have multiple levels which have varying water solutions.
Some levels may not have a Waterbody, in which case the BP_RippleSpawner might be used.
While other levels may have a Waterbody and do not contain BP_RisingWater.
If so, the actor should be auto-destroyed to save performance.
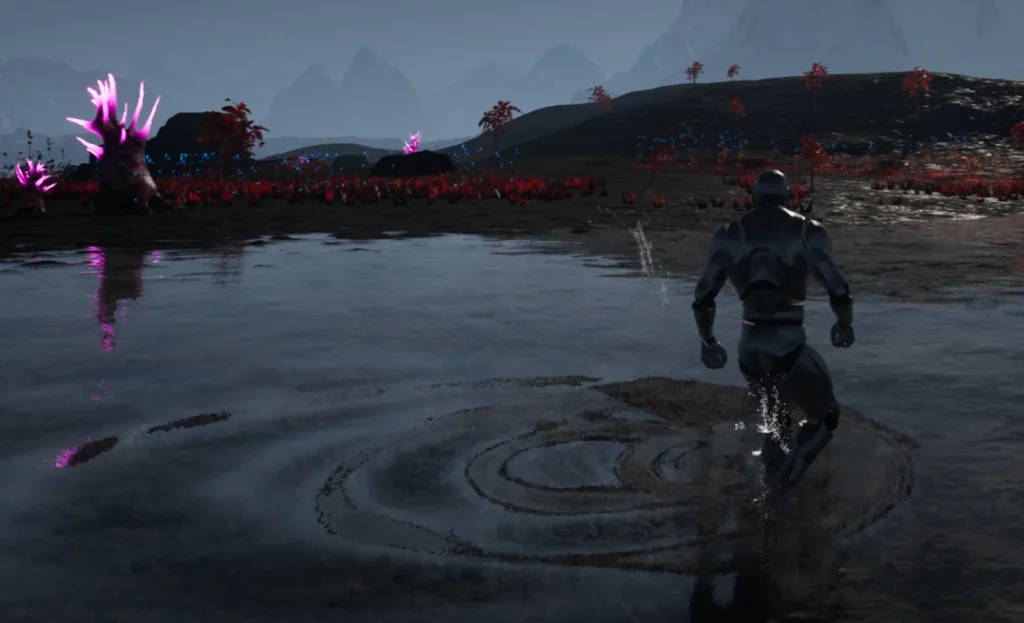
Congrats!
Your ripples should now be working with BP_RisingWater
Final Adjustments #
There are a few other settings you may have noticed.
I’ll explain what they do!
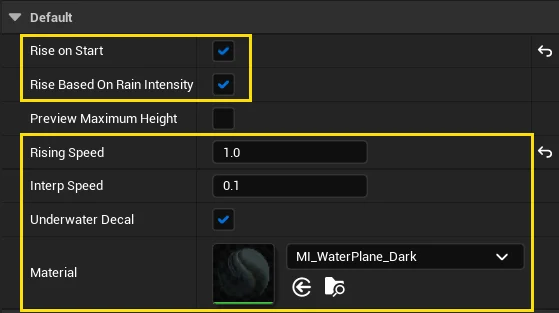
- Rise on Start
- Rise Based on Rain Intensity
- Rising Speed
- Interp Speed
- Underwater Decal
- Material
- If TRUE, it will animate the water immediately upon game start. If FALSE, it will require Event Start to be called before water begins rising.
- If TRUE, it will rise according to rain intensity. If FALSE, it will rise regardless of rain.
- The speed at which the imaginary target-height will rise to.
- The speed at which the water plane will try and meet the imaginary target.
- If TRUE, a decal will span across the water plane and turn off specularity for anything underwater. If FALSE, this decal will be disabled.
- The material to apply to the water plane.